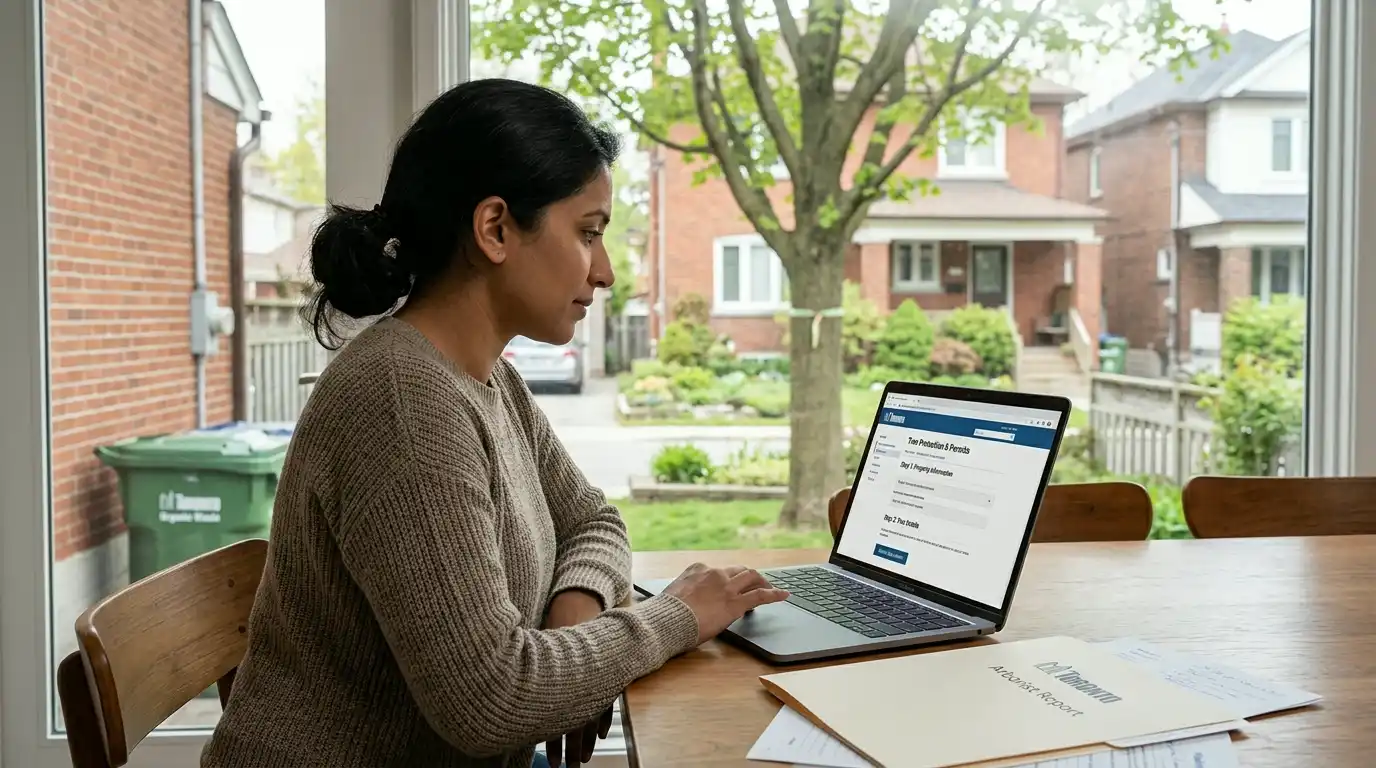
If you are researching how to apply for a Toronto tree permit online, start with the applicable rules, site conditions and practical steps for the property. Toronto tree permit applications can be submitted through the City’s online application process. The application itself is easier when the property owner prepares the main documents before starting: tree details, site information, photographs, ownership details, the reason for proposed injury or removal, and supporting arborist documentation where required. The biggest delays usually happen when the application package is unclear, incomplete, missing supporting documents, or connected to a more complex site such as a ravine, City-owned tree, construction project, or neighbouring property issue.
Before You Open the Portal: What to Have Ready
Do not start the online application casually if key information is missing. A clean submission should clearly identify the property, the tree, the reason for the request, the proposed work, and any replacement planting or site-restoration details where applicable. If the City has to ask for missing or unclear information, the file can slow down.
Toronto’s official Tree and Ravine Protection page says a permit is required to injure or remove a bylaw-protected tree, ravine, or natural feature. The City’s application information also advises applicants to ensure they have all required documents before submitting a completed application package. Property owners should check the current City page before relying on any older saved checklist, because fees, forms, submission methods, and requirements can change.
The arborist report or supporting arborist documentation
For applications to remove a protected City-owned or private tree, Toronto’s current application instructions list an arborist report among the required materials. The report should identify the tree’s location, species, size, condition, structural integrity, disease or infestation concerns, proposed work and tree-protection measures as applicable.
The report should be prepared by a qualified arborist where needed.
The site plan or clear location sketch
A site plan, survey markup, or clear sketch helps the City understand exactly where the tree is located. The drawing should show the tree relative to the house, property lines, driveway, sidewalk, road allowance, neighbouring properties, and nearby structures. If there are multiple trees on the property, label the specific tree clearly so there is no confusion.
For properties near ravines, slopes, watercourses, valleys, or natural feature areas, a simple sketch may not be enough. Chapter 658 ravine and natural feature rules may apply separately from Chapter 813 private-tree rules. TRCA or other regulatory review may also be relevant depending on the property and proposed work.
Photographs
Photos should show the full tree and the specific reason for the application. Include images of the trunk, base, canopy, surrounding area, and any defects such as decay, fungal growth, trunk cracking, limb failure, root disturbance, pest damage, storm damage, or construction conflict. If the report or application describes a condition that is not visible in the photos, the City may ask for clarification.
Take photos from safe locations only. Do not climb the tree, enter a neighbour’s property without permission, or stand below hanging branches. If the tree is an immediate hazard, keep people away, document from a safe distance where possible, and contact 311 or emergency services as appropriate.
Property ownership and contact information
The application should include accurate property and applicant information. If the property is jointly owned, under a corporation, part of a development application, or connected to a neighbour or boundary issue, confirm who has authority to apply before submitting. Boundary trees, shared trees, City-owned trees, and trees in the road allowance can raise separate consent or authorization questions.
Common Toronto tree permit application preparation checklist:
- Current property address and owner/applicant contact information
- Tree species, DBH measurement, location, and reason for proposed injury or removal
- Clear site plan, survey markup, or sketch showing the tree location
- Photos of the trunk, base, canopy, surrounding property, and any visible defects
- Qualified arborist report or supporting documentation where required
- Replacement planting information or other mitigation details where required by the City
- Current City fee and payment details confirmed through Toronto’s application process
- Ravine, City-owned tree, TRCA, heritage, construction, or boundary-tree context checked before submission
Navigating the Online Application Process
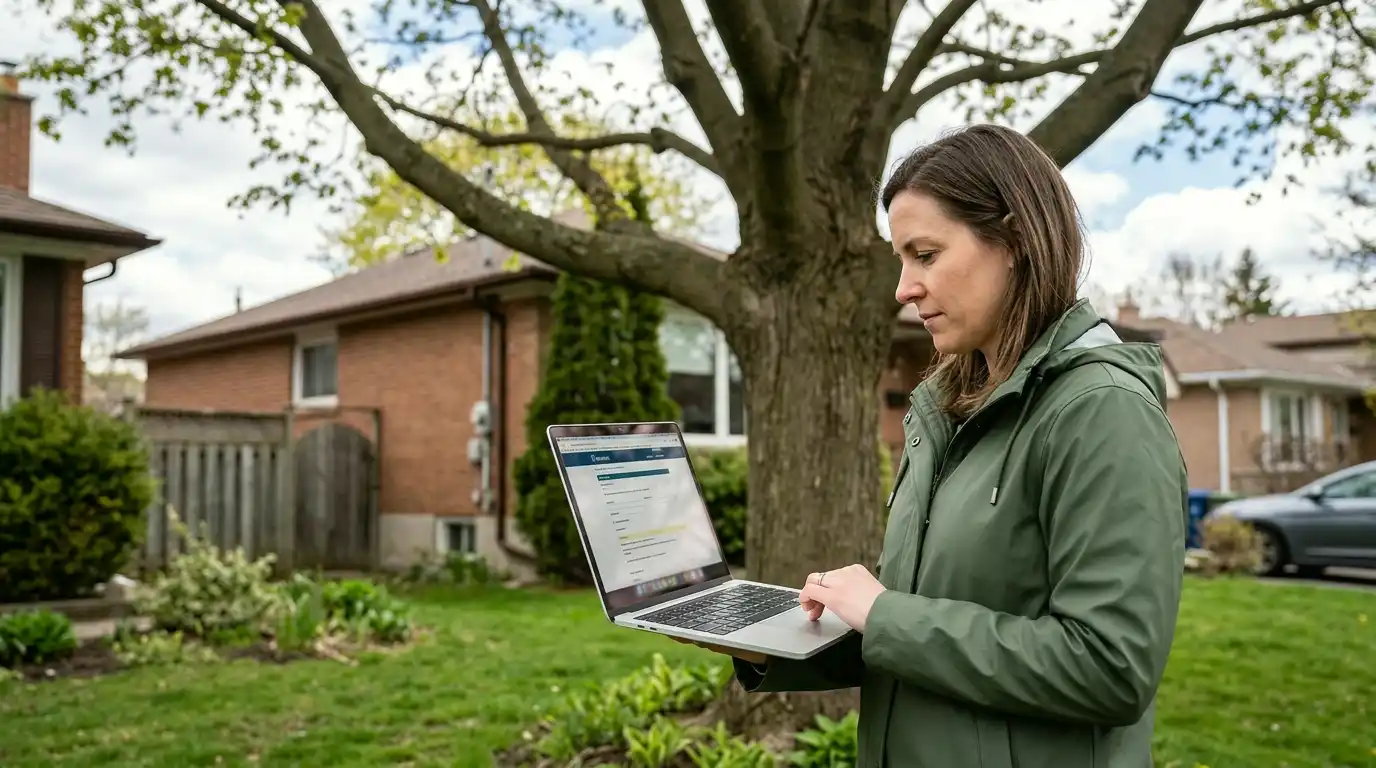
Start from Toronto’s official Tree and Ravine Protection page or the City’s secure Application to Injure or Remove Trees page. Use the City page rather than an old bookmark if possible, because application links, fees, and submission instructions can change.
Once inside the online process, enter the property address, applicant information, tree information, reason for the proposed work, and upload the requested documents. Complete every relevant field carefully. Incomplete descriptions, unclear measurements, missing photos, or vague replacement planting information can cause avoidable follow-up.
Application fee payments can be made online when submitting an application, and the City also lists alternate payment methods for some situations. Confirm the current fee amount and payment method directly through the City’s application process before submitting.
The Three Mistakes That Delay Applications Most
Mistake 1: Submitting without the right supporting documentation
The most common delay is submitting before the supporting information is ready. If an arborist report is required, it should be complete and specific to the tree and property. If the reason for removal is decay, disease, construction conflict, storm damage, or risk, the documentation should explain that clearly and include supporting photos where possible.
Mistake 2: Replacement planting information that is vague or unrealistic
Where replacement planting is required, the City may need to know what species, size, and location are being proposed. A vague statement such as “replacement to be determined” can create follow-up. If the property cannot reasonably accommodate replacement planting, confirm the current City process for cash-in-lieu or alternate requirements directly with the City.
Mistake 3: Photos that do not support the application
Photographs should match the reason for the request. If the application says the tree has basal decay, include photos of the base. If it says the canopy is declining, include canopy photos. If the issue is construction conflict, show the tree in relation to the proposed work area where possible. Clear photos make it easier for the City to understand the file without extra back-and-forth.
After You Submit: What to Expect
After submission, the City may review the application, request more information, ask for clarification, conduct a site review, or issue a decision with conditions. Timing depends on application completeness, City workload, site complexity, tree condition, and whether other regulatory layers apply.
If a permit is issued, read the conditions carefully before scheduling work. Conditions may address replacement planting, timing, site protection, inspections, permit posting, restoration, or other requirements.
Need Help Understanding a Toronto Tree Permit Request?
Tracking Your Application and What to Do If It Stalls
Keep the application number, payment confirmation, submitted documents, uploaded photos, and all City correspondence. If the City asks for more information, respond through the requested channel and keep a copy of what was sent. Check email spam folders and the City’s portal or message system where applicable, because missed requests can slow the file.
If the application seems stalled, contact the City of Toronto or 311 with the application number and ask for a status update. Avoid scheduling tree work before the permit is issued unless the City guidance clearly allows a different process, such as for an imminently hazardous private tree. For emergency situations, document from a safe distance and contact 311 as Toronto requests.
If the application is refused, review the written reason carefully. A refusal may relate to insufficient justification, missing information, replacement planting concerns, site context, tree condition, or another regulatory issue. Property owners should speak directly with the City, their own project team, legal advisor where needed, or a qualified arborist about next steps.
How to Apply for a Toronto Tree Permit Online?
Tree-related requirements can overlap with building permits, demolition permits, grading, driveway work, pools, additions, utility work, and other construction activity. Construction can injure a protected tree even if the tree is not being removed, especially through root cutting, grade changes, excavation, soil compaction, or access routes.
If tree work is connected to a construction project, confirm the sequence directly with the City, designer, builder, or qualified arborist.
Frequently Asked Questions
What documents do I need before starting a Toronto tree permit application?
Requirements depend on the tree, property, and proposed work. Common materials can include ownership or property details, a site plan or sketch, photos, tree species and DBH information, a work description, replacement planting details where required, and a qualified arborist report or supporting documentation where required.
How long does a Toronto tree permit application take to process once submitted?
Timing depends on whether the application is complete, whether the City requests more information, whether a site visit is needed, current City workload, and whether ravine, City-owned tree, development, construction, or other regulatory issues apply. Confirm current timing directly with the City of Toronto.
Can I start removing the tree before the permit is issued?
For a bylaw-protected tree that requires a permit, work should not begin until the required City authorization is issued. Toronto handles 100 percent dead, terminally diseased and imminently hazardous trees through a separate permit-exception process. The City says exception confirmation should be received before work unless immediate action is necessary to eliminate a dangerous situation.
What happens if I submit the application and the City says it is incomplete?
The City may ask for additional documents or clarification before the application can move forward. Common issues include unclear tree location, missing photos, incomplete supporting documentation, missing ownership information, unclear proposed work, or incomplete replacement planting details where required.
Can I submit a tree permit application and a building permit application around the same time if both are required?
Tree and building requirements can overlap when construction, demolition, grading, driveways, additions, or site work may affect trees. Confirm sequencing directly with the City, your designer, builder, or a qualified arborist before submitting or scheduling work.
Related Guides